
1.6 Digitizing Analog Audio Recordings
The following instructions will guide you through converting analog audio records to digital files for proper archiving.
Converting Cassette Tapes to WAV Files
Equipment needed
In order to convert your audio cassette recordings into WAV files you will need to make sure you have the following:
- Cassette Tapes (including non-essential ones for testing purposes)
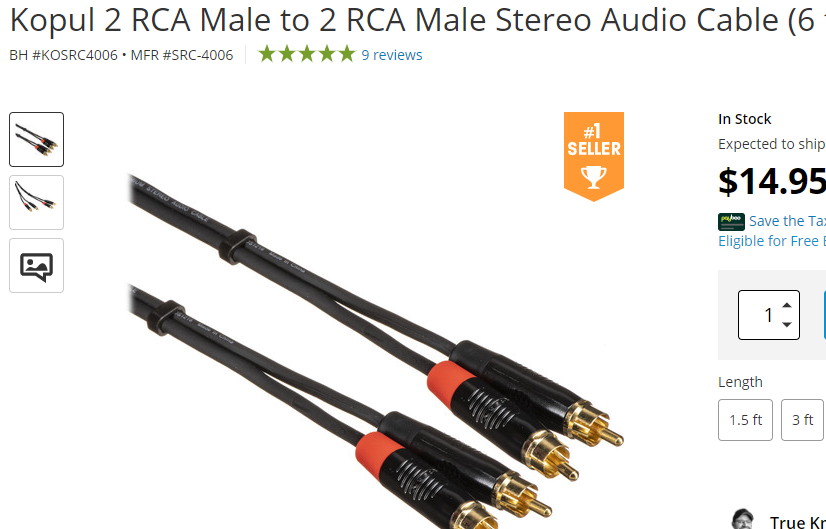
- RCA Stereo Cable
- A computer with either USB ports or headphone jacks
- Headphone jack converter if necessary
- A free digital audio workstation like Audacity
Converting instructions
When converting cassette recordings to a digital format you will use the above equipment. You will need to connect your cassette player with the audio interface. The recording will be transferred from the tape in the tape deck through the audio interface and stereo cables to your computer. Here is a brief step-by-step on how to convert your cassette using the previously listed materials:
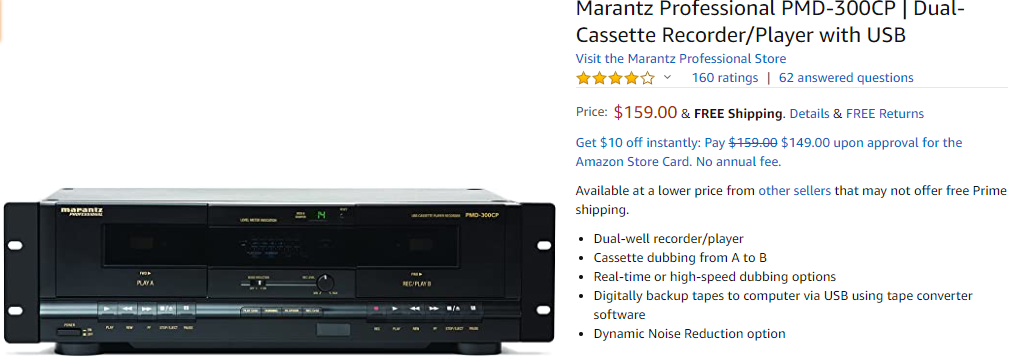
- Test your tape deck using your non-essential tape to make sure that it works.
- Download Audacity.
- You will need to connect the tape deck to the audio interface using your RCA leads.
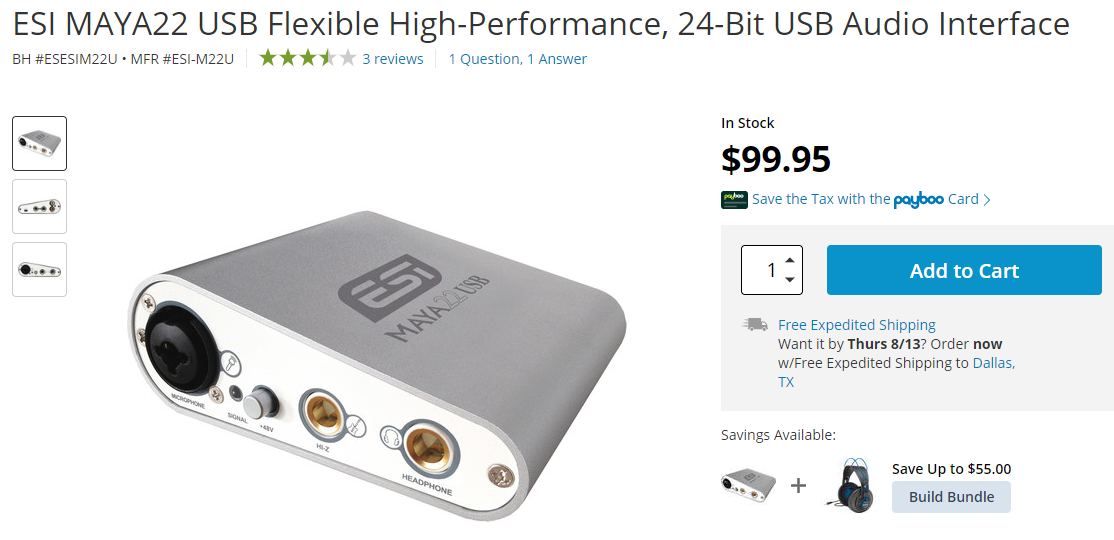
- Plug the RCA leads from your playback equipment into the USB audio interface and plug the audio interface into a USB port or headphone jack on your computer. Note: connecting to a USB hub attached to a USB port will result in audio dropouts.
- Connect your audio interface to your computer and open Audacity.
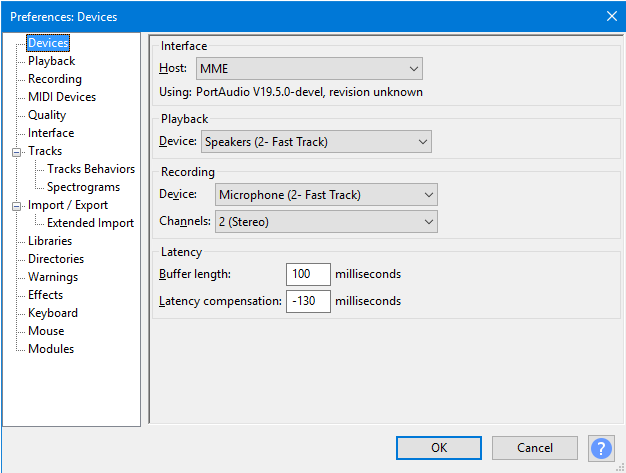
- Select Manage your device preferences in Audacity and select ‘Interface’
- Use your audio interface to record to Audacity.
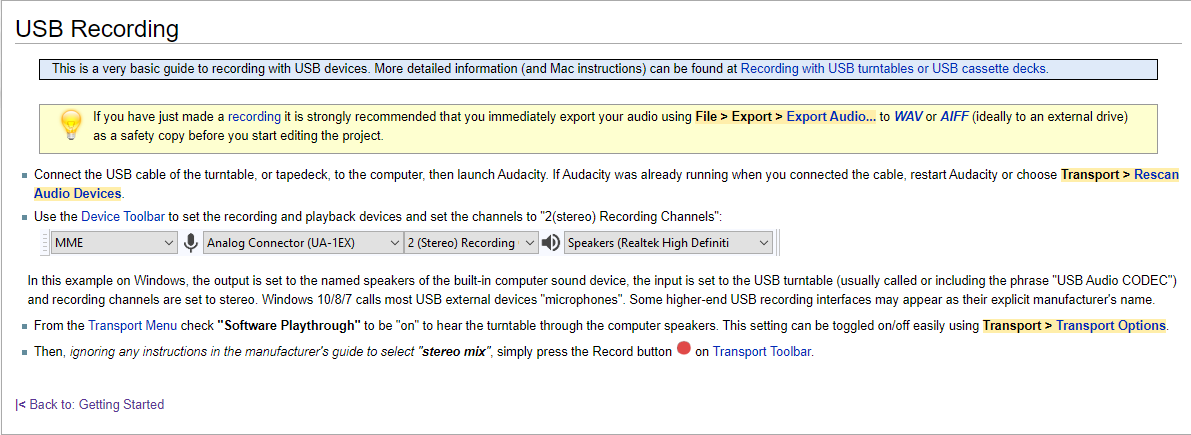
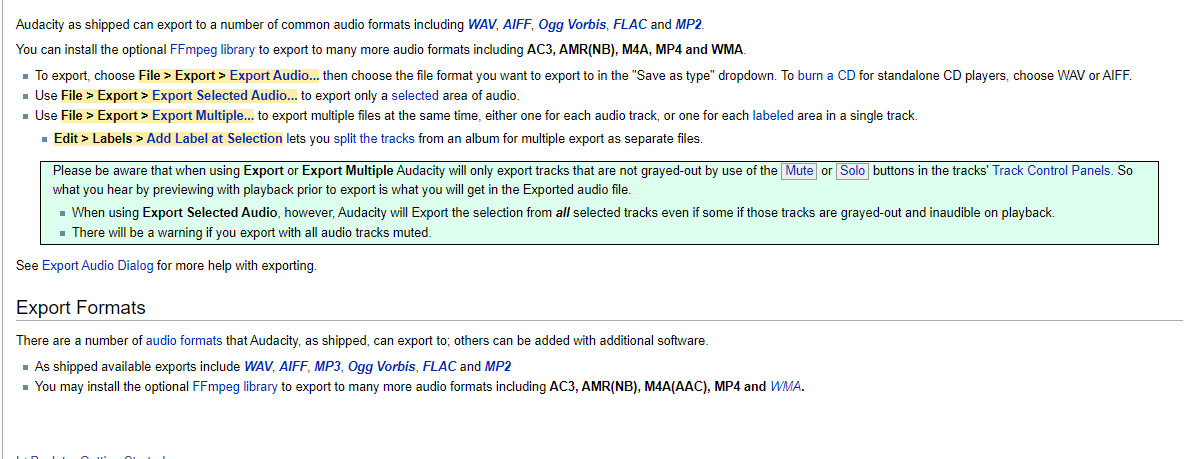
- Follow Audacity’s instructions on exporting a WAV file.
- Name your WAV file and save in the appropriate folder on your computer.
Converting MiniDisc to WAV Files
Equipment needed
- Computer that has Internet access and has stereo input
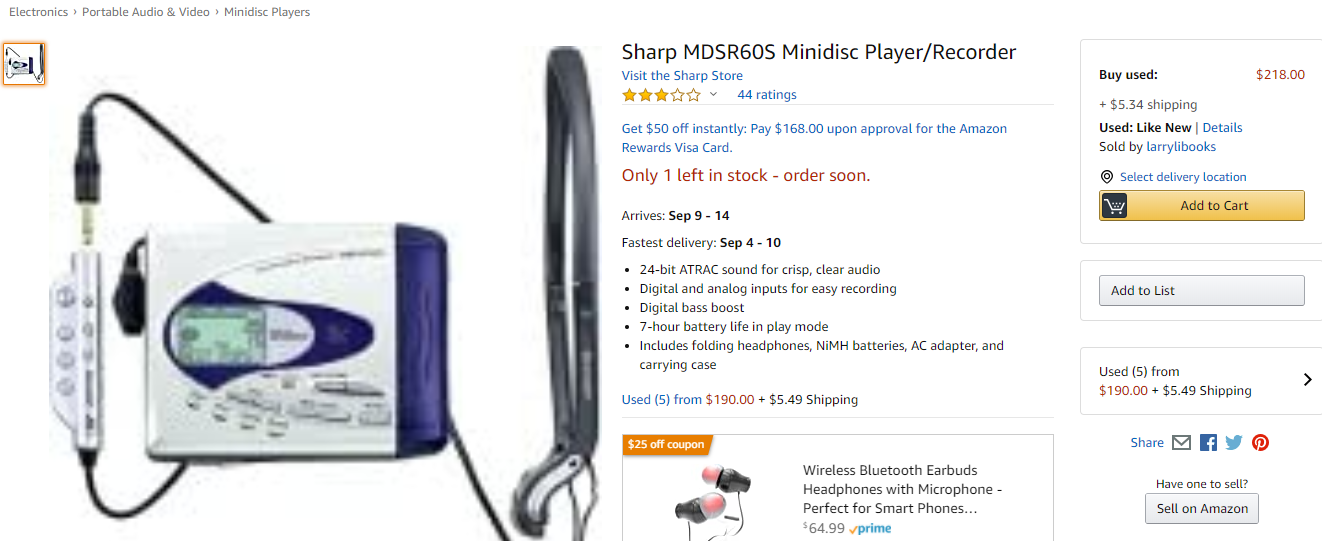
- Minidisc player
- Minidisc with recordings on it
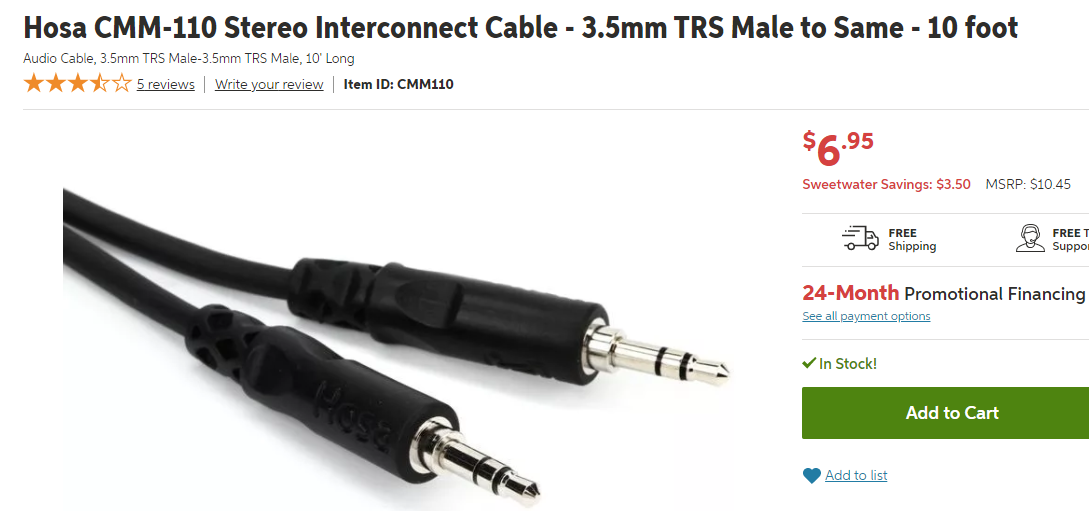
- 1/8-inch to 1/8-inch audio cable
Converting instructions
These instructions from itstillworks.com are very clear and useful:
“Launch Audacity and select File then Preferences.The drop-down menu will display a number of recording devices from which you will find and select your sound card.
Turn on your minidisc player and insert a minidisc. Connect the audio cable from the headphone jack on the minidisc player to the input on your computer. Note that if you have only a mono input, your recordings will not have any stereo effect.
Press Record on the minidisc player and Record in Audacity. Allow the recording to finish, then press Stop on both devices.
Go to File and then Export in Audacity, name the file and select the format you'd like to save it as. You can choose from WAV, WMA, MP3 and OGG, among others.”
Proper Care and Handling of Audio-Visual Materials
The Library of Congress has very useful guidelines for the proper way to handle and maintain the quality of your audio-visual materials.
General
- Make sure hands are clean and dry before handling audio-visual materials
- Have a clean environment for storing and handling materials
- Keep materials away from all food and drink
- Never directly touch playing surface
- Maintain upkeep on all playback equipment
- If materials have been stored somewhere cool, allow time for materials to come to room temperature before attempting to play back.
Discs
- Hold all discs by the edges and label areas only
Magnetic tape (Cassettes, Audio and Video)
- Hold by the outer shell
- Never touch the spools
Maintaining Playback Equipment and Cleaning Audio Visual Materials
Cleaning playback machines
Generally, the best practice is to follow all manufacturer's instructions for keeping playback machines clean and well maintained. Any type of advanced cleaning or maintenance should be handled by professionals.
Cleaning audio-visual materials
Procedures for cleaning for audio-visual materials will vary depending on format. Cleaning of magnetic tape and of cylinders should only be done by professionals. Canned air can be used to blow dust from the surface of grooved and optical discs.
References
Heinzman, A. (2020, July 01). Everything You Need to Convert Your Cassette Tapes to Digital. Retrieved August 03, 2020, from https://www.reviewgeek.com/19889/how-to-digitize-your-cassette-tapes/
Hovey, A. (20187, September 22). How to Transfer a Minidisc Recording to a Computer. Retrieved August 29, 2020, from https://itstillworks.com/12271106/how-to-transfer-a-minidisc-recording-to-a-computer
Library of Congress. (2020). Care, Handling, and Storage of Audio Visual Materials. Retrieved August 29, 2020 from https://www.loc.gov/preservation/care/record.html
Mallery, S., & Bockrath, D. (1969, December 27). How to Record Cassette Tapes into a Computer. Retrieved August 03, 2020, from https://www.bhphotovideo.com/explora/pro-audio/tips-and-solutions/how-to-record-cassette-tapes-into-a-computer
SlashDigit (2020, June 16). 10 Best Portable Minidisc Players 2020 [Reviews]. Retrieved August 03, 2020, from https://www.slashdigit.com/best-portable-minidisc-players/