
5.5 Using FLEx I
In this section, we provide a tutorial on how to use the Field Works Language Explorer (FLEx) software. The software can be used in conjunction with the work that you will do in SayMore. SayMore is the software used in earlier modules to manage your data and also to create a first-pass transcription and translation.
Once you have done that, you can take just the transcription and bring it to the FLEx program, and create more detailed annotations which build on the translation that you started in SayMore. There are several reasons why we want to use a program like FLEx for this. First, FLEx allows us to analyze data that is from connected texts. We have a tendency to use sentences that are elicited in isolation and for targeted grammatical constructions. When we do that, we miss out on a lot of the richness and variation that is present in the language, but only shows up in connected texts. Rather than decrease the value of the kind of descriptions that we're going to make by basing those descriptions only one type of data, we can increase the value of those descriptions--making them more accurate--by using a richer data set the FLEx program allows us to take advantage of. The time to grow with the analysis. Because FLEx allows us to make guesses about what different parts of a word or sentence mean, and then to come back and change those as we understand more and more about the language, it allows us to have a consistent analysis throughout the corpus.
Annotating connected texts for language analysis and teaching
- Install FLEx from https://software.sil.org/fieldworks/download/
- Open a new Project
- Type in the name of your project
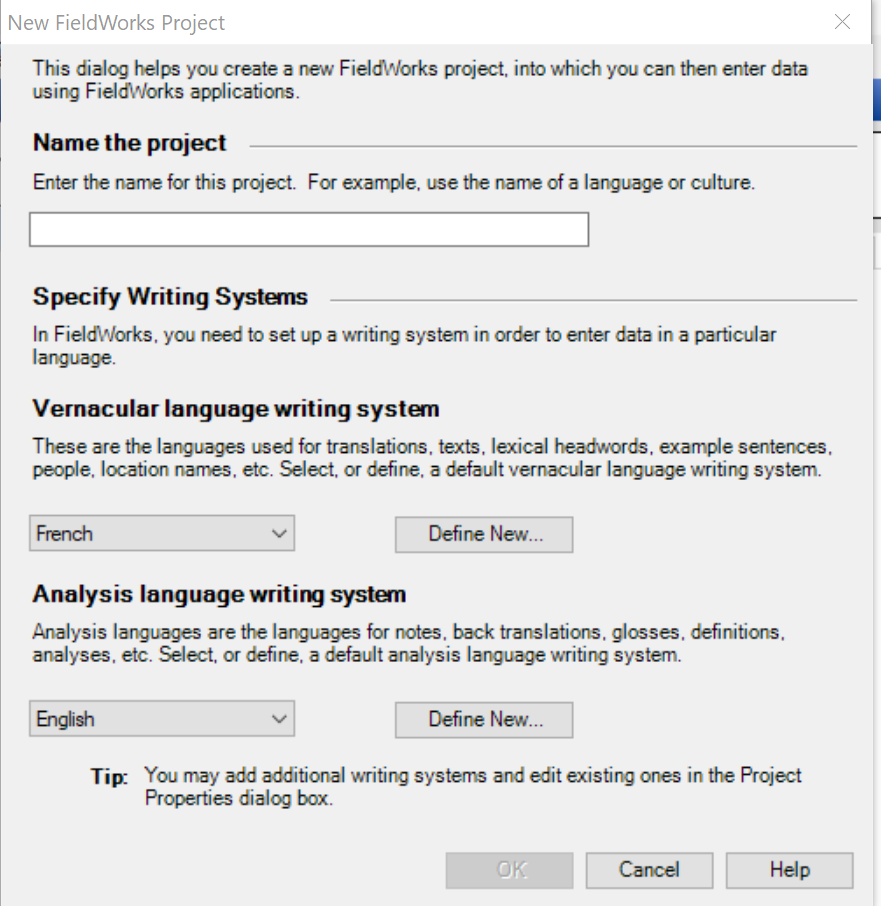
- Select the writing system you will use for the language you are documenting. For example, you might be using the Devanagari script, IPA, or perhaps a standard or working orthography. A writing system will not show up unless you have it in your font file library.
- Select a writing system for the language you will use for translating words and clauses (called glossing or annotating). This will probably be English.
- Once the project opens, on the lower left-hand pane, select "Texts & Words".
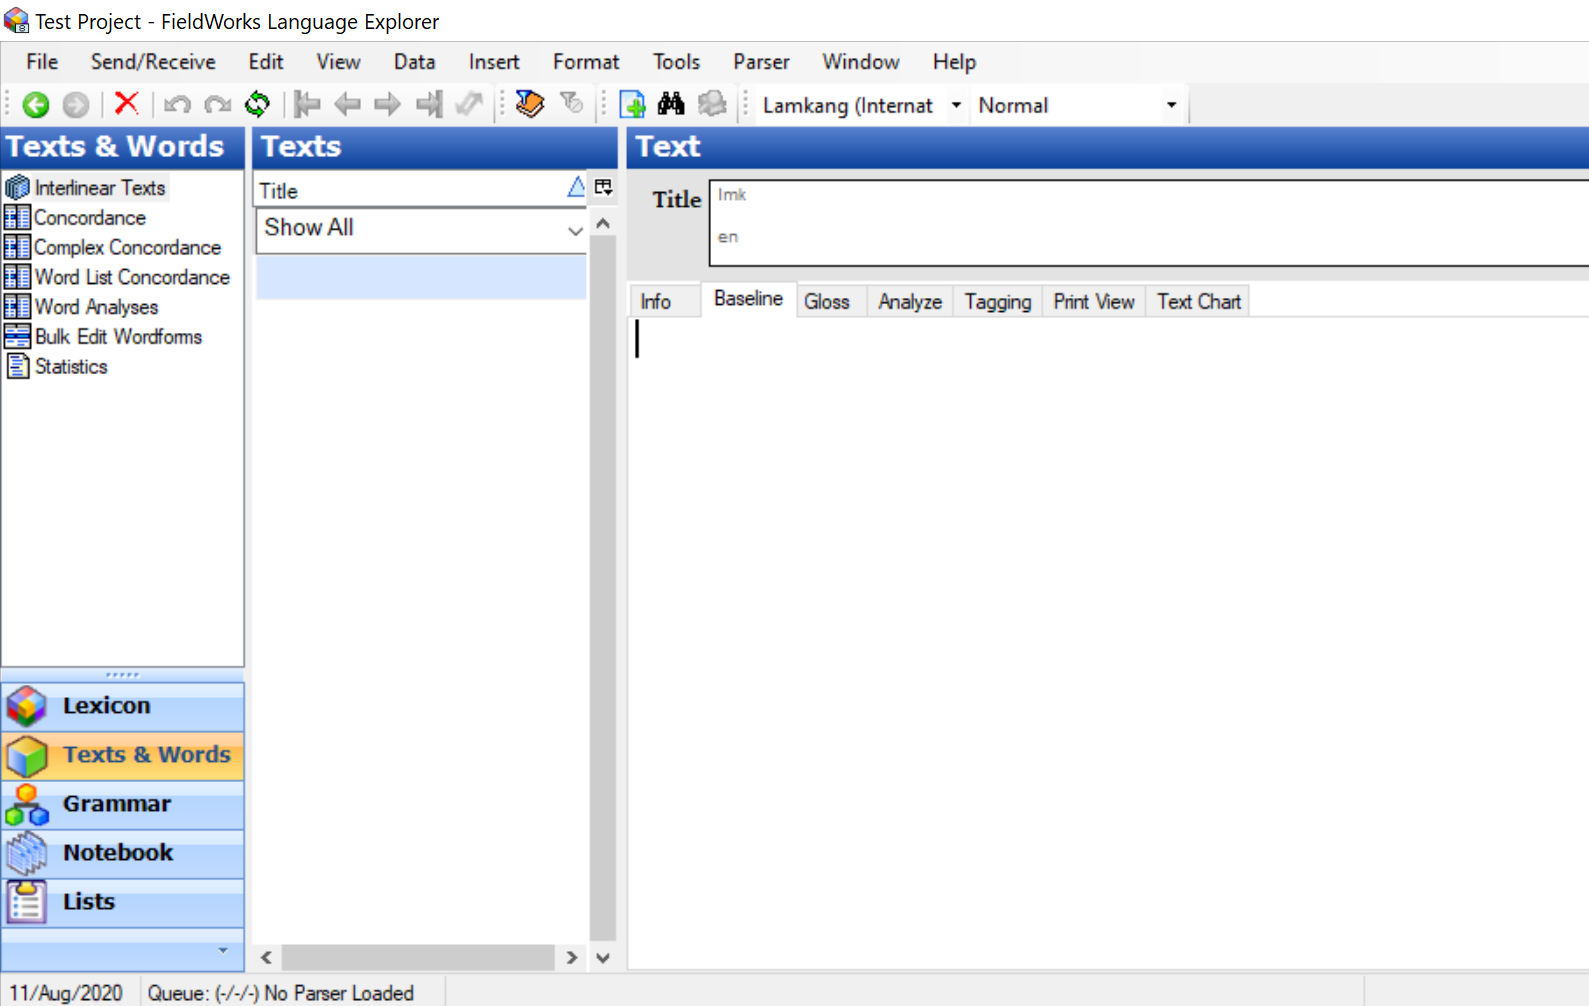
- Familiarize yourself with the three columns. The column on the very left is where you select if you are working on connected texts (like a story or conversation) or words for a dictionary. If you are working on connected texts, then you select “Texts & Words”. If you are adding individual words, you select “Lexicon”.
- Select "Texts & Words".
- Add a new text by clicking on the green +
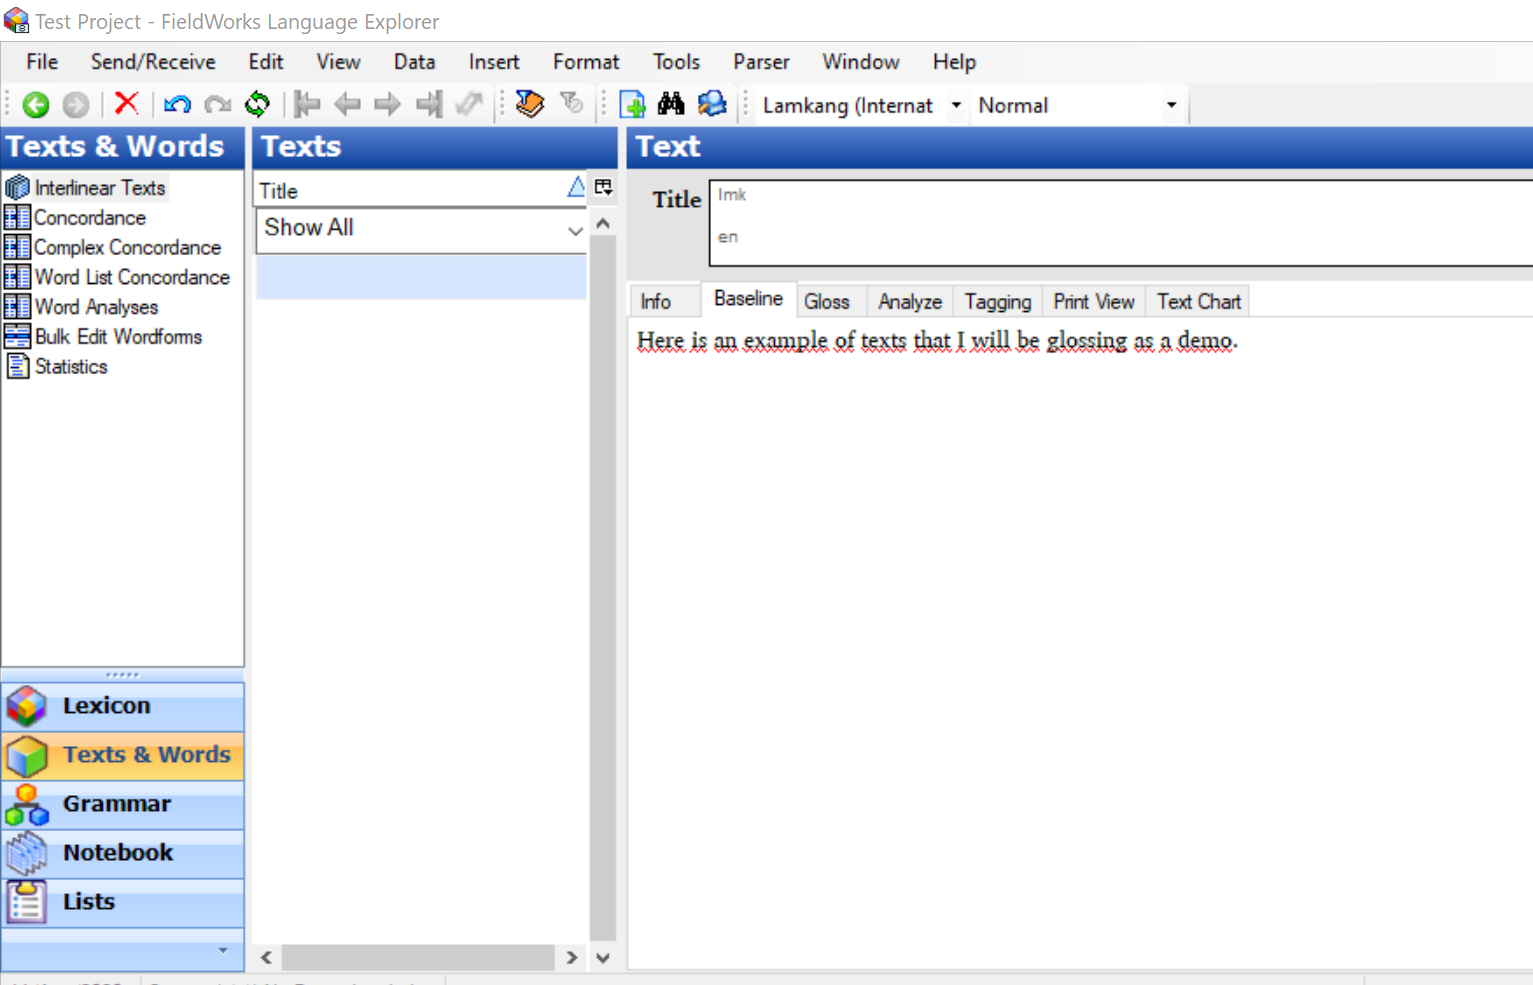
- Now you can type or copy and paste the text you want to annotate in the tab “Baseline”.

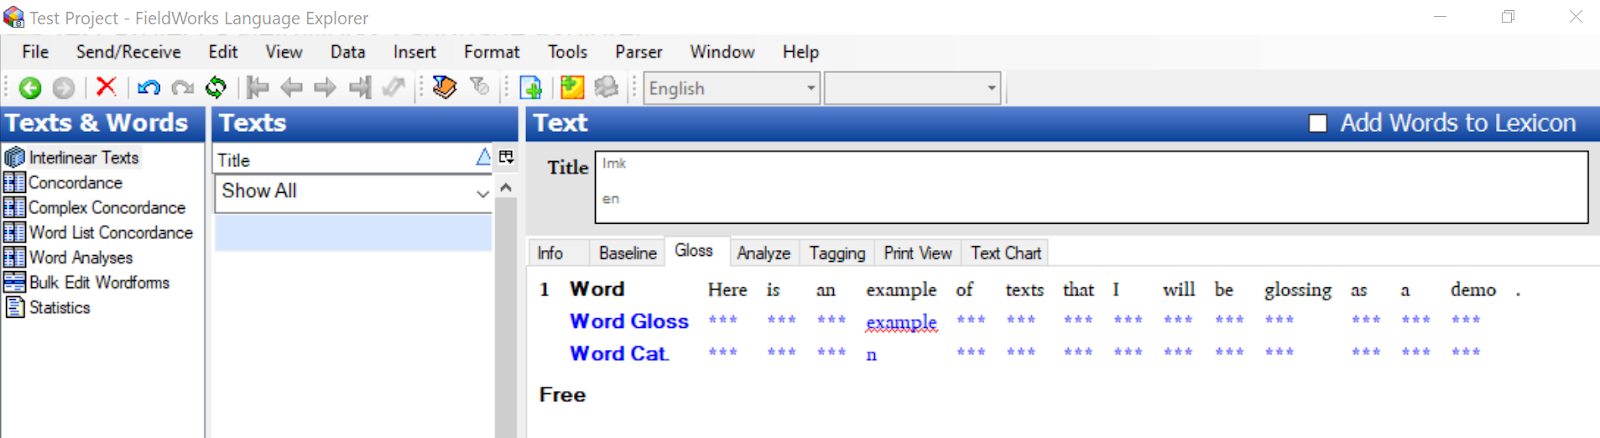
- Once the baseline is entered you can move to the “Gloss” tab. Here, you can enter the meaning of each word, the part of speech of each word, and the translation of the clause. You can see the example of how this is done with the word “example”, which we have provided here with “word gloss” and “word category” where we have labeled it a noun.
- Now move to the “Analyze” tab. Here, you can give even more information on each word.
Notice how we have analyzed the word "texts" as being composed as "text" + "s". Once we break those into two parts, "text", and the plural marker "s". We can also train the program to recognize the "s" makes a noun plural. The next time "s" appears, or "text" appears, the program will remember what we entered, and will fill that in automatically. In this sense, FLEx is a good companion. It won’t do the analysis for you, it won’t suggest new analyses for you, but it will remember your analyses and ask if that is what you want to use.